

How to Repair a Broken HDMI Port-A Step-by-Step Gu
- Electrical Engineering & Electronics
- 3 pages
- Shared June 2025
Learn how to repair a broken HDMI port safely. This guide explains the signs of a faulty HDMI connection and why repairing it requires expert soldering skills due to tiny components and potential damage risk.
Preview 1 of 3 pages
See the first page exactly as it appears in the document.
Page 1 Read page 1 as text
How to repair a broken HDMI port? Meta Disc: Repairing a broken HDMI port should only be attempted by those who are experienced with soldering small connections. To learn how to fix a broken HDMI port, follow the steps outlined below. Introduction: When using an HDMI connection, a problem with the HDMI cable or port might cause the television to stop working properly. When you can't see or hear anything on your TV, it's a sign that your HDMI port is broken. Repairing a broken HDMI port is incredibly hard and should only be sought if you are very confident in soldering tiny connections. The cost of repair is determined by the device to which the HDMI port is connected and the intensity of breakage. When too mu ch pressure is applied to the HDMI port on certain devices, it can be broken. Knowing how to repair a broken HDMI port in this article will save you a lot of time and aggravation. Indications: Knowing what could be causing a bad HDMI cable can make finding a solution much easier. Your HDMI cable might become destroyed and need to be changed if you notice any scuffed or exposed wires. These are the most common indicators that your HDMI port has b een damaged. ●The HDMI ports are not overly tight, and the cables may become loose. ●Issues with a handshake. ●The image is sporadic. ●The resolution is poor. ●There is no sound. ●Image that is hazy or fuzzy. ●Discoloration. Steps to Follow To repair broken HDMI port: 1. Remove the television from the wall. To mitigate a broken screen during the process, place the TV on a flat surface. This step will be determined by the extent of the damage. Physically inspect the board before beginning this process to look for noticea ble disconnections.
2 more pages in the full document
Unlock it once and it stays in your library, ready to chat with or turn into flashcards.
Unlock the full documentMore Electrical Engineering & Electronics study materials
See all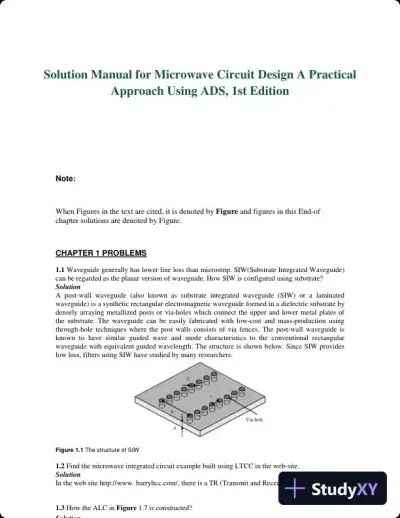 Textbook Guides
Solution Manual for Microwave Circuit Design A Practical Approach Using ADS, 1st Edition
Electrical Engineering & Electronics
121 pages154downloadsFeb 2025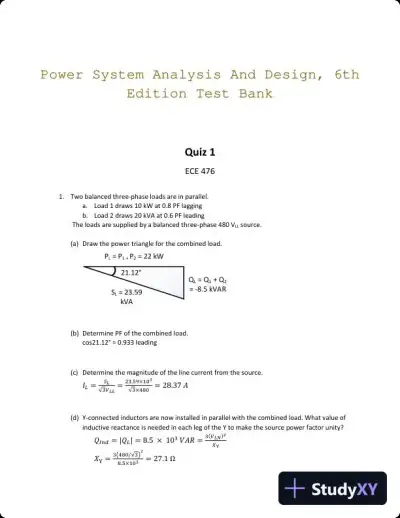 Exam Guides
Power System Analysis And Design, 6th Edition Test Bank
Electrical Engineering & Electronics
40 pages132downloadsFeb 2025 Textbook Guides
Solution Manual For Electronics Fundamentals: A Systems Approach, 1st Edition
Electrical Engineering & Electronics
278 pages93downloadsFeb 2025 Textbook Guides
Electronic Commerce, 12th Edition Solution Manual
Electrical Engineering & Electronics
134 pagesMay 2025 Textbook Guides
Solution Manual for Signals and Systems using MATLAB , 3rd Edition
Electrical Engineering & Electronics
538 pagesMay 2025 Document
HW4_Solution
Electrical Engineering & Electronics
17 pagesFeb 2026 Solved Assignments
FM Receiver Design and Functionality: Analysis of Key Stages and Components Week 6 Assignment
Electrical Engineering & Electronics
5 pagesMay 2025 Solved Assignments
Bridge Rectifier and its Analysis: A Study of Output Voltage and Ripple Effects
Electrical Engineering & Electronics
3 pagesMay 2025
Study this document with CramX
Once it is in your library, every tool can work from it.