

Accounting Principles I – Completion of the Accounting Cycle
- Accounting
- Texas A&M University
- 25 pages
- Shared March 2026
Preview 8 of 25 pages
See the first 8 pages exactly as they appear in the document.
Page 1 Read page 1 as text
Study Guide Accounting Principles I – Completion of the Accounting Cycle 1. The Work Sheet What is a work sheet, and why do accountants use it? A work sheet is a helpful tool many accountants use to organize their work before creating financial statements. It helps them: • prepare the unadjusted trial balance • record the effects of adjusting entries • create the adjusted trial balance • prepare preliminary financial statements A work sheet is optional in the accounting cycle. That means a business can use it, but it doesn’t have to . Also, a work sheet is not an official financial statement . It’s an informal document , but it gives management useful information about how the business performed during the period. Most work sheets include five sets of debit and credit columns , and they are filled out from left to right , one section at a time. (The Greener Landscape Group example shows how this works for April.) Step 1: Trial Balance Columns (First Set) The first set of columns is used to prepare the trial balance . Here’s what you do: 1. List all open (active) accounts on the left side of the work sheet. 2. Put each account’s balance in either the debit or credit column. This section looks just like a normal trial balance — you’re simply copying the current balances.
Page 2 Read page 2 as text
Study Guide Step 2: Adjustments Columns (Second Set) The second set of columns shows how adjusting entries affect the accounts. While filling this part in: • You may need to add new accounts to the list on the left (for example, depreciation expense or interest payable). • Each adjusting entry gets a letter label (like (a), (b), (c) ). This makes it easier later when you journalize and post the adjustments. Some extra tips: • You can write a short explanation of each adjustment at the bottom of the work sheet. • If one account needs more than one adjustment , show each one separately (using multiple lines if needed). • After you enter all adjustments, total the debit and credit adjustment columns to make sure they are equal. Step 3: Adjusted Trial Balance Columns (Third Set) The third set of columns is the adjusted trial balance . To get the adjusted balance for each account, you combine: Trial Balance amount plus/minus Adjustments amount Quick examples (from the Greener Landscape Group work sheet) • Cash: No adjustments → the cash balance stays the same and carries straight across. • Accounts Receivable: Starts with $150 debit and has a $50 debit adjustment → Adjusted balance becomes $200 debit • Supplies: Starts with $50 debit and has a $25 credit adjustment → Adjusted balance becomes $25 debit
Page 3 Read page 3 as text
Study Guide Important warning (students often miss this!) Even though each account is adjusted by combining its own trial balance and adjustments, you cannot simply add the column totals at the bottom. For example, adding $26,070 + $614 does not automatically give the final adjusted trial balance totals in a simple way. So the right process is: • adjust each account line - by - line • then total the adjusted trial balance debit and credit columns • and confirm debits = credits Step 4: Income Statement Columns vs Balance Sheet Columns (Fourth and Fifth Sets) Once the adjusted trial balance is complete, each account gets moved into one of the last two sections: Income Statement Columns Put revenues and expenses here. Examples include: • revenue accounts • expense accounts (wages expense, gas expense, depreciation expense, etc.) Balance Sheet Columns Put everything else here: • assets • liabilities • owner’s capital • owner’s drawing Once you move all accounts: • total the income statement debit and credit columns • total the balance sheet debit and credit columns
Page 4 Read page 4 as text
Study Guide Step 5: Find Net Income or Net Loss Most of the time, the income statement columns won’t balance right away — and that’s normal. If credits > debits in the income statement columns: That means the business earned a net income . You do two things: 1. Add the difference to the income statement debit column 2. Add the same difference to the balance sheet credit column ○ because net income increases owner’s equity ○ and increases in owner’s equity are recorded as credits Write this on a line labeled Net Income . If debits > credits in the income statement columns: That means the business had a net loss . You do two things: 1. Add the difference to the income statement credit column 2. Add the same difference to the balance sheet debit column Write this on a line labeled Net Loss . Once net income or net loss is added correctly: each set of debit/credit columns will balance and the work sheet is complete. Step 6: Prepare the Financial Statements (Using the Work Sheet) Once the work sheet is finished, you can prepare the financial statements in order.
Page 5 Read page 5 as text
Study Guide 1) Income Statement (prepared first) Everything in the income statement columns transfers directly into the income statement. 2) Statement of Owner’s Equity (prepared second) Use the balance sheet columns to find: • owner’s capital • owner’s drawing
Page 6 Read page 6 as text
Study Guide • net income or net loss Then calculate the ending capital amount. 3) Balance Sheet (prepared last) The balance sheet also comes from the balance sheet columns — but there’s one key detail: Don’t use the capital account balance from the work sheet directly. That balance shows the beginning capital for the period. Instead, use the ending capital from the statement of owner’s equity , because that number already includes: • net income or net loss • withdrawals (drawing) 2. Closing Entries Why do we make closing entries? At the end of a fiscal year (and sometimes at the end of an accounting period , like each month), accountants make closing entries . These entries update the owner’s capital account and “reset” certain accounts so the next period starts fresh. Closing entries are used for temporary accounts , which include: • Revenues • Expenses • Drawing (withdrawals) These are called temporary (or nominal) accounts because their balances are only meant to track activity during one period . After closing, their balances go back to zero . Temporary vs. Permanent Accounts (important difference!) Permanent (real) accounts keep their balances from one period to the next. These include: • Assets
Page 7 Read page 7 as text
Study Guide • Liabilities • Owner’s Capital Their ending balance in one period becomes the beginning balance in the next period. Temporary accounts start over each period, which makes it easier to: • track income and expenses clearly • compare results from year to year (or month to month) • measure performance for one specific period What happens when an account is “closed”? When an accountant closes an account, it means the balance is transferred out so the account returns to $0 . To do this, accountants use four closing entries . These transfer all temporary account balances into the owner’s capital account (or retained earnings in a corporation). The Four Closing Entries (in order) Closing Entry 1: Close Revenues to Income Summary First, close all income statement accounts with credit balances , which are usually revenue accounts , into a temporary account called Income Summary . • Debit the revenue account(s) (to bring them to zero) • Credit Income Summary For Greener Landscape Group: Mr. Green has only one revenue account: Lawn Cutting Revenue . So the entry is: • Debit Lawn Cutting Revenue for its balance • Credit Income Summary for the same amount
Page 8 Read page 8 as text
Study Guide Closing Entry 2: Close Expenses to Income Summary Next, close all income statement accounts with debit balances , which are usually expense accounts , into Income Summary . Here’s the rule: • Debit Income Summary for the total expenses • Credit each expense account for its own balance (to bring each to zero) For Mr. Green: He has eight expense accounts (all with debit balances). So all eight get closed in one compound entry by: • Debiting Income Summary for the combined total • Crediting each expense account for its individual amount
17 more pages in the full document
Unlock it once and it stays in your library, ready to chat with or turn into flashcards.
Unlock the full documentMore Accounting study materials
See all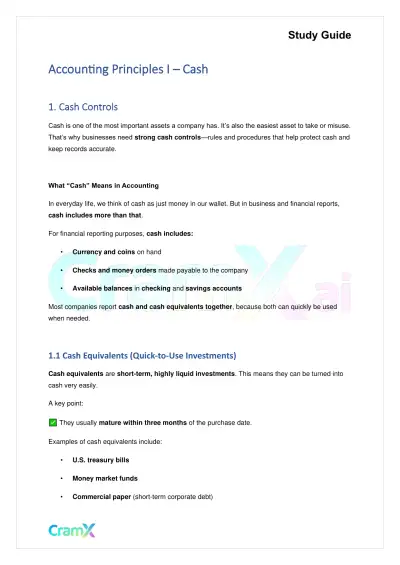 Quick Guides
Accounting Principles I – Cash
Accounting
20 pagesMar 2026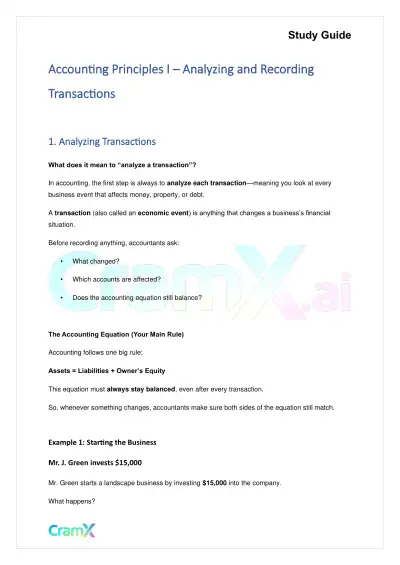 Quick Guides
Accounting Principles I – Analyzing and Recording Transactions
Accounting
42 pagesMar 2026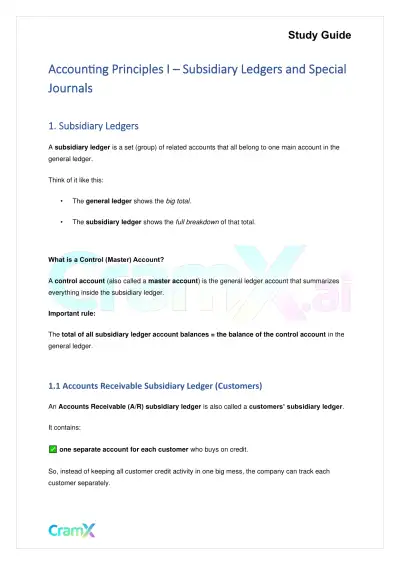 Quick Guides
Accounting Principles I – Subsidiary Ledgers and Special Journals
Accounting
17 pagesMar 2026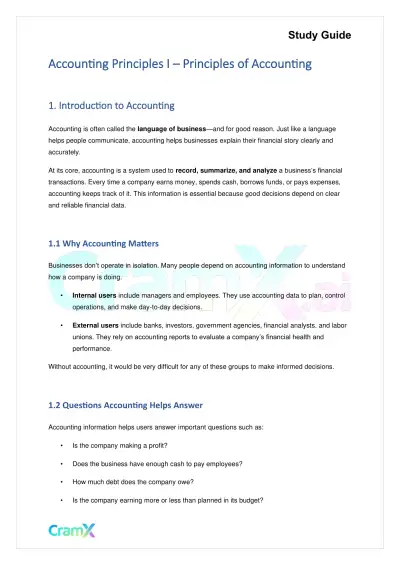 Quick Guides
Accounting Principles I – Principles of Accounting
Accounting
27 pagesMar 2026 Quick Guides
Accounting Principles I – Inventory
Accounting
29 pagesMar 2026 Quick Guides
Accounting Principles I – Accounting for a Merchandising Company
Accounting
36 pagesMar 2026 Quick Guides
Accounting Principles I – Adjustments and Financial Statements
Accounting
34 pagesMar 2026 Quick Guides
Accounting Principles I – Operating Assets
Accounting
32 pagesMar 2026
Study this document with CramX
Once it is in your library, every tool can work from it.